So, you found the one. You toured it, you imagined your couch in the living room, and you may or may not have already planned out your future BBQs on the back deck. Fast forward a few weeks: your offer got accepted (yay!), and now your agent drops the big phrase on you—“Next up, closing.”
Cue the dramatic music.
But don’t worry—closing isn’t as scary as it sounds. Think of it like the season finale of your favorite show: all the drama, paperwork, and plot twists finally come together, and at the end, you get the keys to your very own home.
This two-part guide will break it down step by step so you know exactly what to expect—minus the panic attacks.
Goals of This Article:
- Explain what “closing” actually means
- Walk you through the steps in plain English (with a few laughs)
- Share real-life examples so you can learn from other rookie buyers
- Keep you from feeling blindsided on the biggest day of your homebuying journey
Step 1: The Offer Gets Real
When your offer is accepted, you officially enter contract land. Here, you and the seller agree to a timeline, price, and conditions. It’s like being engaged—exciting, but now you’ve got responsibilities.
Example: One of my first-time buyers popped champagne when their offer got accepted. Then the home inspector found a roof issue, and let’s just say that bottle of bubbly turned into “budget water.” Moral: the celebration is real, but the process isn’t over yet.
Step 2: Escrow & Earnest Money
You’ll deposit earnest money (aka “good faith” money) into escrow. It’s usually 1–3% of the purchase price. Don’t worry—it’s not an extra fee. It goes toward your closing costs or down payment later.
Think of it as putting a deposit on your dream vacation. You’re basically saying, “Yes, I’m serious about this trip. Don’t give my seat away.”
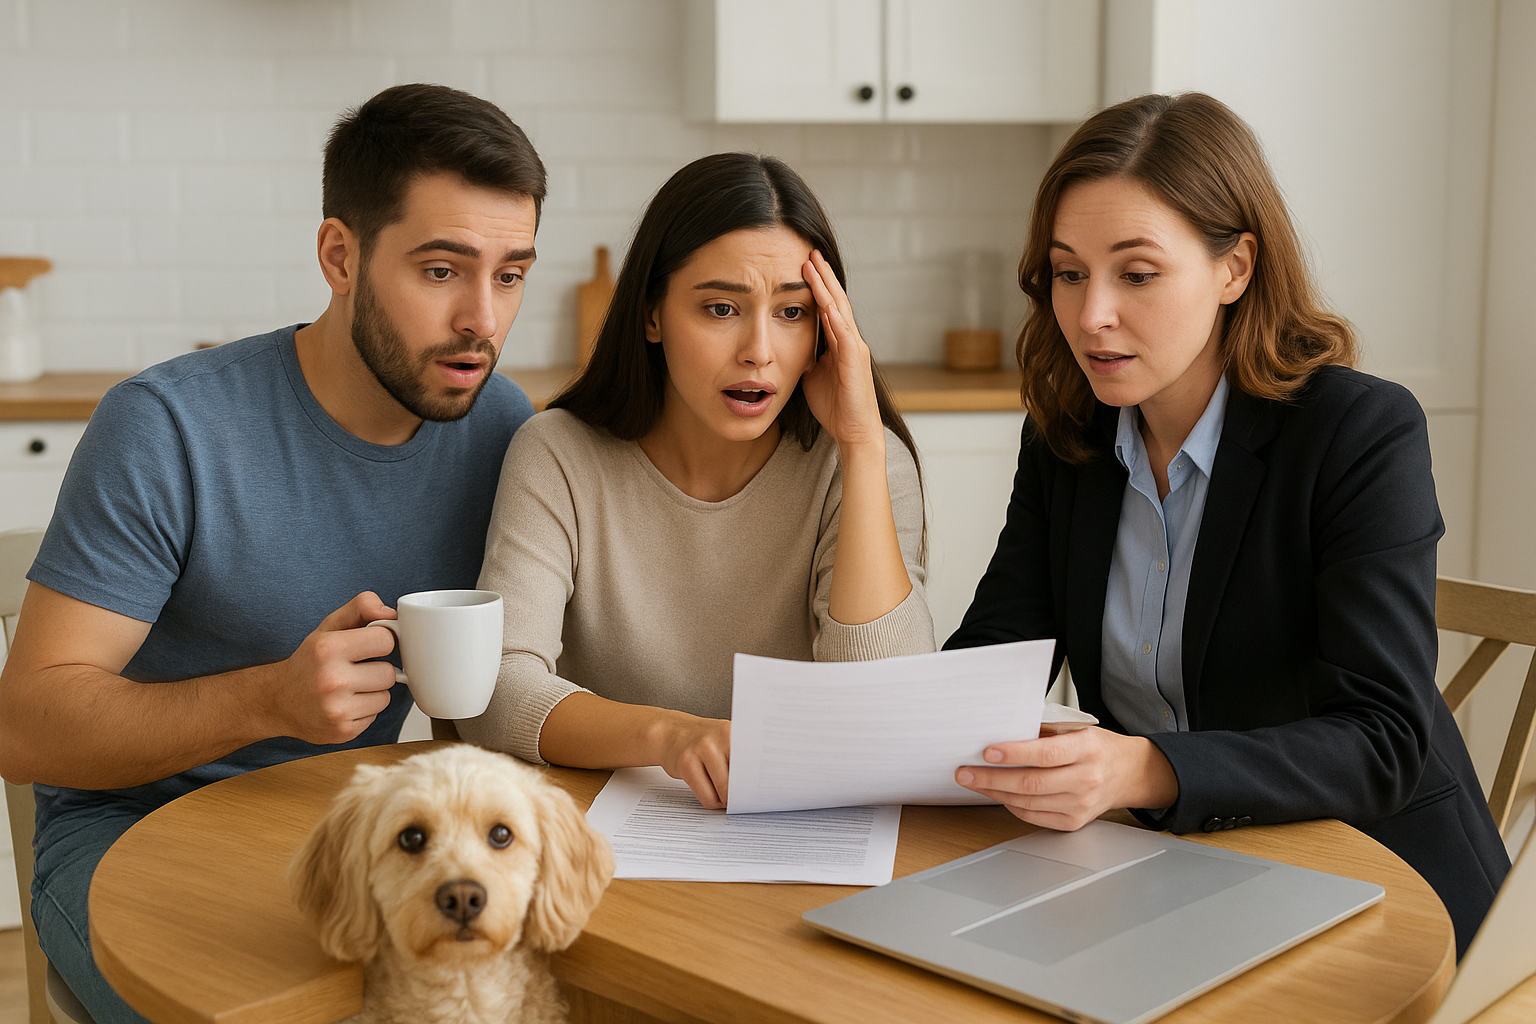
Step 3: The Inspection
Here’s where a professional comes in to check if your dream home is really a dream—or if it’s a ticking time bomb of repairs. Expect them to look at the roof, plumbing, electrical, HVAC, foundation, and more.
Don’t be surprised if the inspector’s report looks like a college textbook. They list everything—even the wobbly door handle you never noticed.
Pro Tip: Focus on the big-ticket issues (roof, water damage, foundation) and don’t sweat the small stuff.
Step 4: Appraisal Time
Your lender wants to make sure the house is actually worth what you’re paying. If the appraisal comes in low, you’ve got options: renegotiate with the seller, bring more cash, or (worst case) walk away.
Example: One buyer I worked with fell in love with a house listed at $350,000. The appraisal came in at $335,000. After some negotiating, they snagged it for $340,000 and used the leftover money to buy a couch big enough to fit their entire family—and their dog. 🐕
Recap (Part 1)
So far, you’ve:
- Gotten your offer accepted (yay!)
- Put down earnest money
- Survived the inspection
- Held your breath during the appraisal
In Part 2, we’ll tackle the final stretch: underwriting, the mountain of closing documents, and (drumroll please ) the moment you get your keys.